In this location, I’ll be showcasing the step by step procedure I usually follow whenever I need to deploy an Active Directory environment, whether it’s for pentesting/red team tests or to try out forensic tools/SOC capabilities or similar (Blue team).
To deploy our environment we’ll need a host, dedicated one if possible, that will work as a hypervisor, it could be a laptop or a desktop PC.
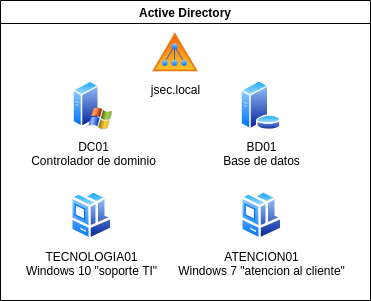
Our small initial Active Directory will have the following structure:
- Windows Server 2016 free trial (https://go.microsoft.com/fwlink/p/?LinkID=2195174&clcid=0x409&culture=en-us&country=US)
- Windows 10-11 ISO images (https://www.microsoft.com/en-us/software-download/windows10ISO)
- Virtualization software (depending on the operating system, some of the options are VMPlayer, VMWare Workstation, Virtualbox, KVM or a dedicated platform, such as Proxmox, EsXi, etc.
For this guide, i’ll be using VMWare Workstation, given that I can assign all the hosts into a virtual network, routing would not be a problem and my own home network should be safe.
As its expected, a laptop or desktop PC with decent components is required, to virtualize all of the virtual hosts, my current setup is the following.
- Intel core I5 – 9400 2.9Ghz
- 48gb de Ram (Given the size of our starting lab, it’s not required to have this much, 16gb should be enough)
- 1 SSD of 512gb to store the virtual images.
Configuring our Active Directory
I won’t go into detail on installing the virtual machines, given that there are many resources online. If anyone isn’t sure on how to properly install virtual machines, this guide is not for you, mostly because that is basic knowledge you need to have before you can successfully delve into this type of setups.
The first step is to configure our domain controller, so we can deploy our internal domain and enroll our other hosts into the domain.
Domain controller characteristics.
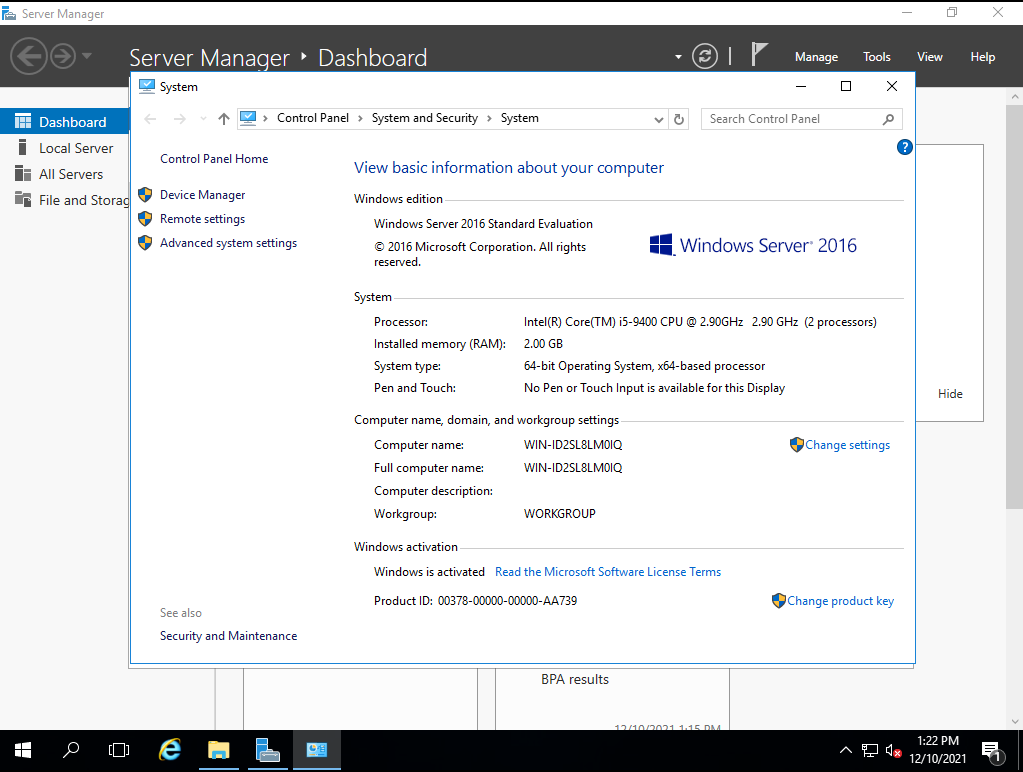
On the system page, we click on “Change Settings”, to assign a specific hostname.
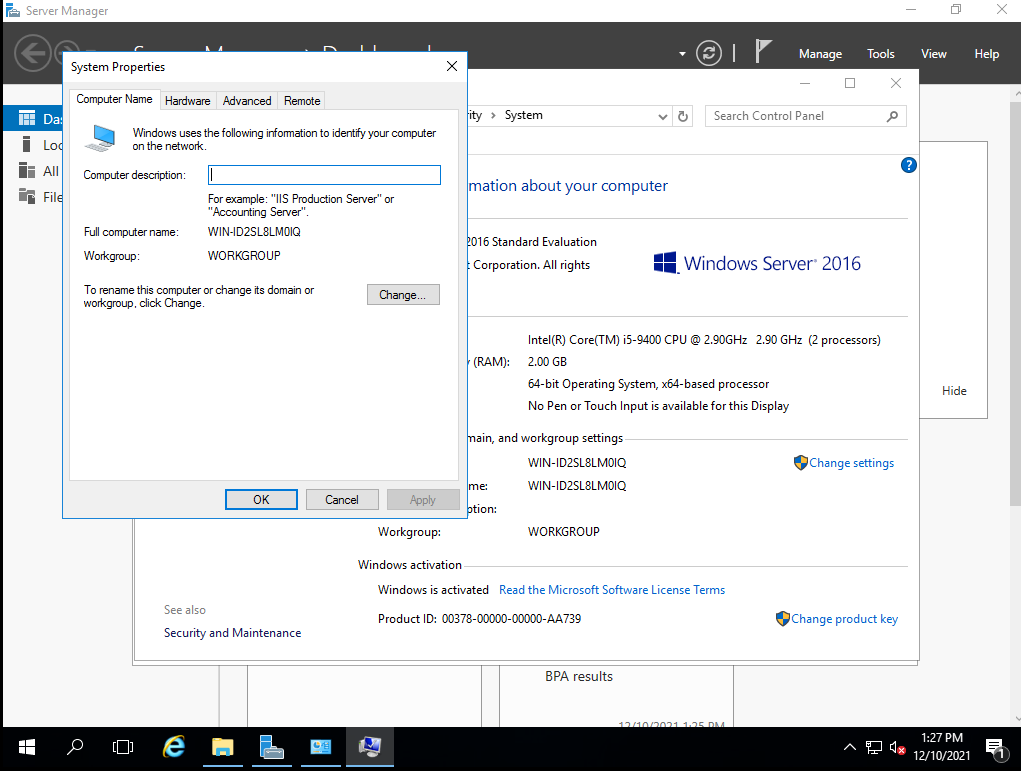
We click on the button “Change”, where we’ll be presented with a new windows where we’ll type in our new hostname.
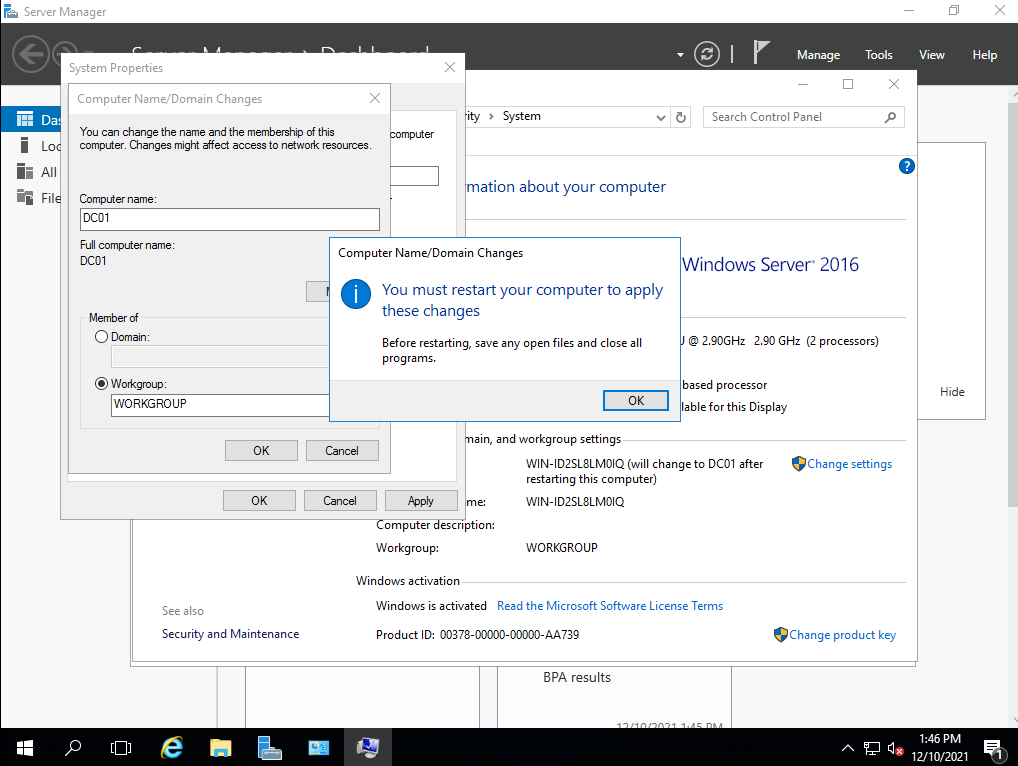
I defined the name “DC01”, which is enough at the moment, the name convention is up to you. After the change is done, we’ll get asked to restart the server, since it’s a fresh install, we can safely do so.
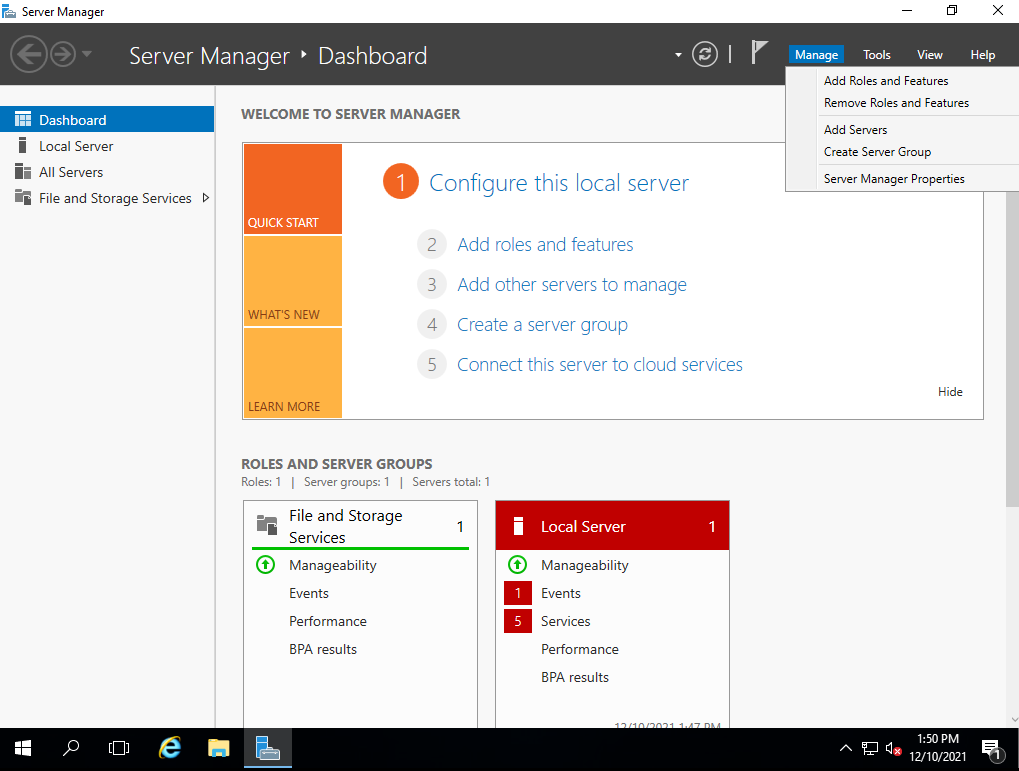
Once the server is restarted, we go to the main dashboard and click on the “Manage” tab, where we’ll click on the “Add Roles and Features” option.
It’s safe to leave the default options configured until we reach the following page.
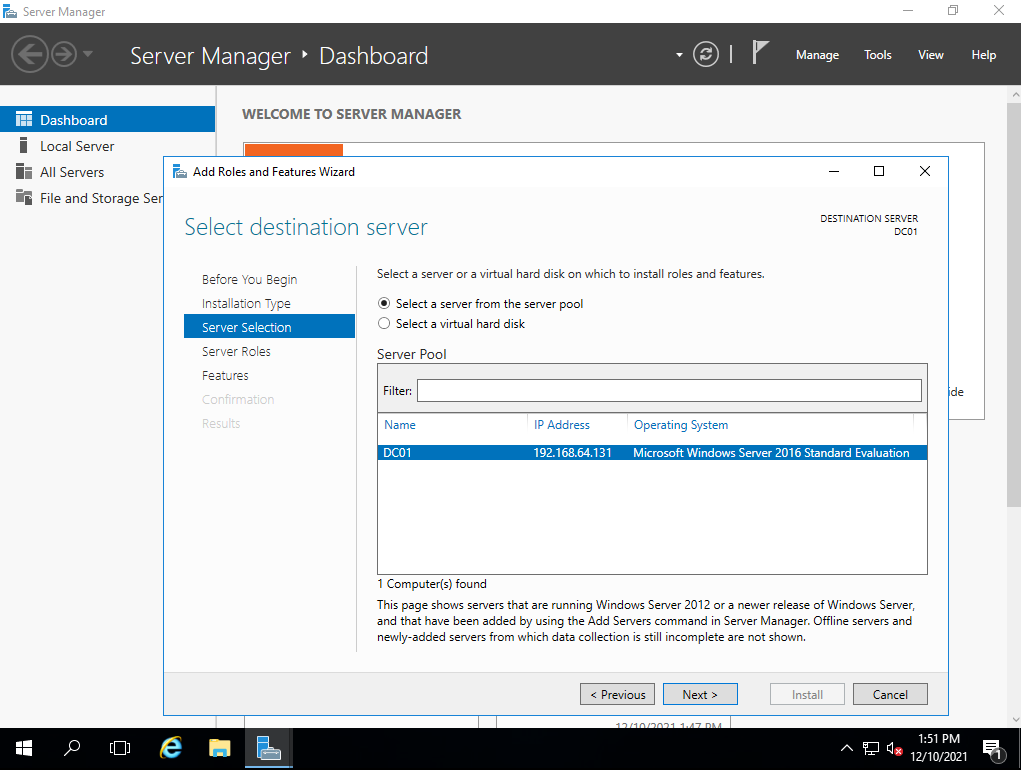
Here, we’ll select our server and click on “Next”.
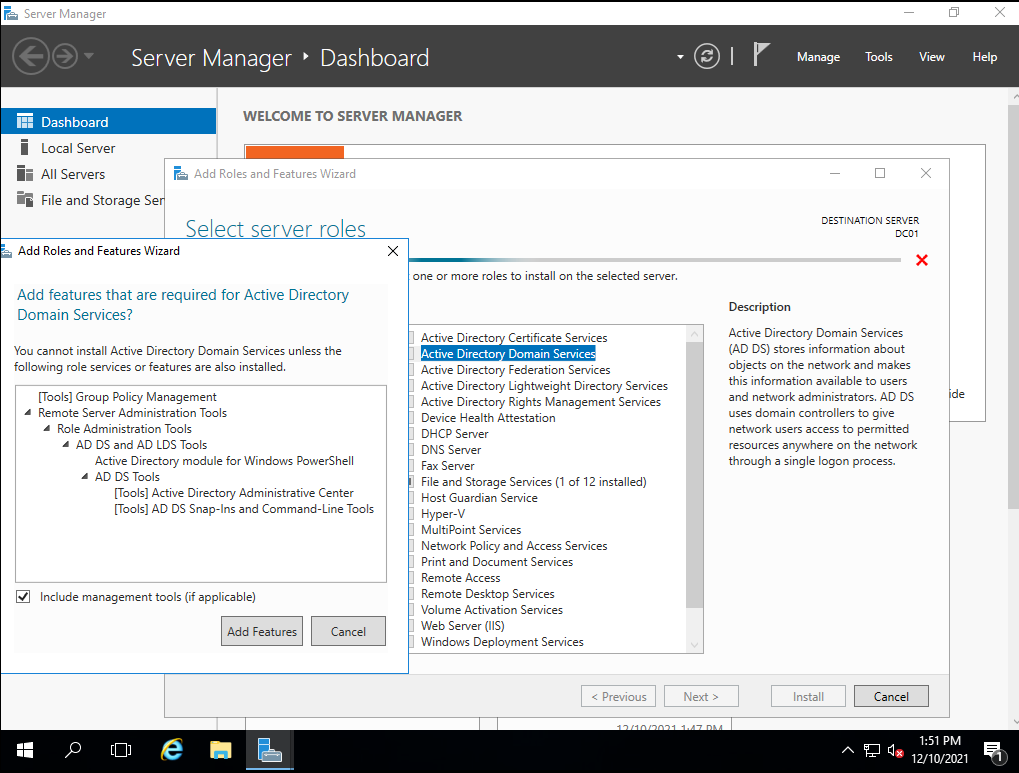
On the role selection page, we’ll check the “Active Directory Domain Services” box and then click on “Install”, where we’ll be presented with a small screen asking for confirmation, we click on the “Add Features” button.

We can keep the default options at the moment until we reach the following screen.
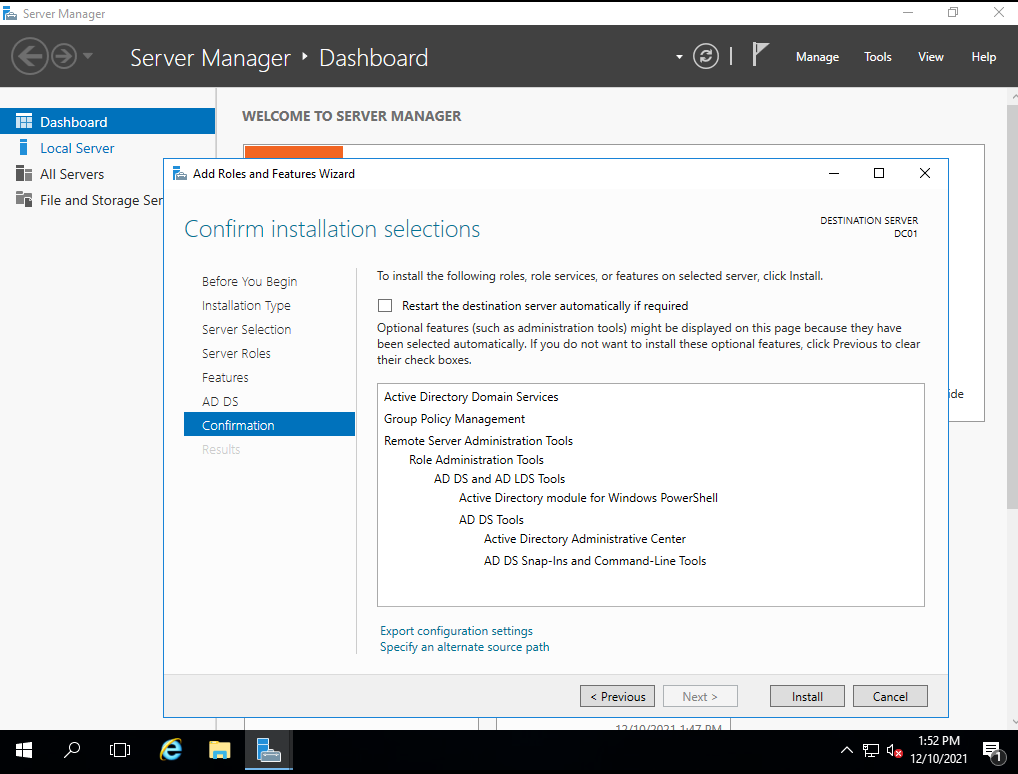
To proceed, we click on the “Install” button.
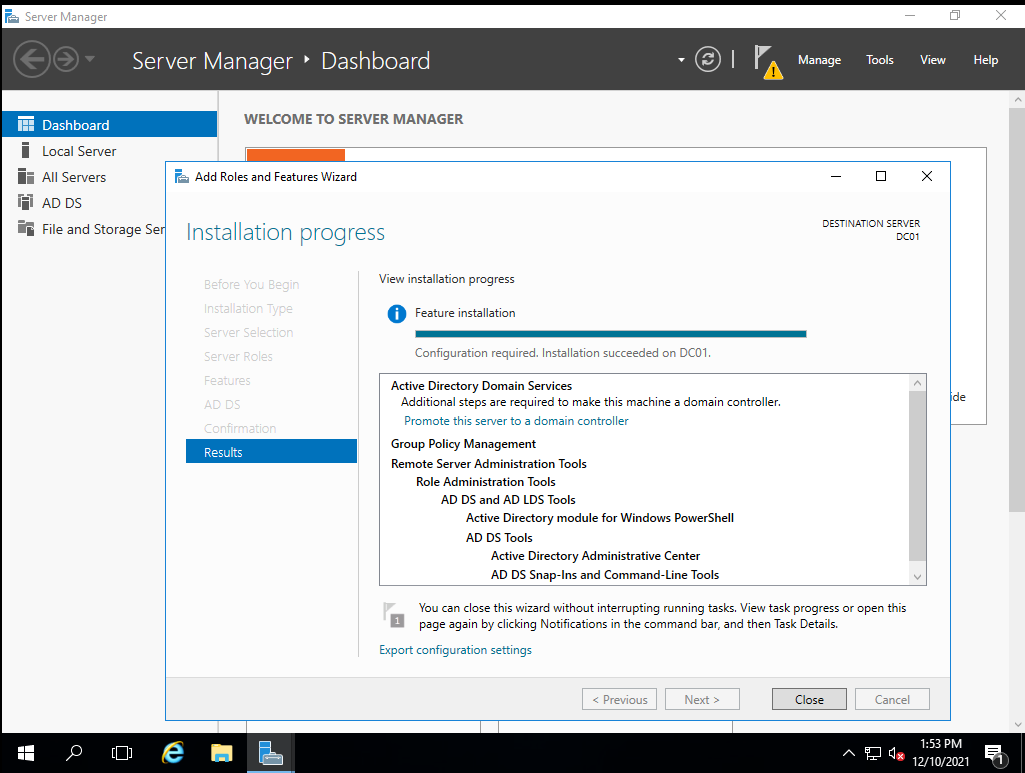
Once the installation finishes, we can close the window.
On the main dashboard, we can see a flag icon with a small exclamation sign, if we click it we’ll see a post deployment configuration task pending.
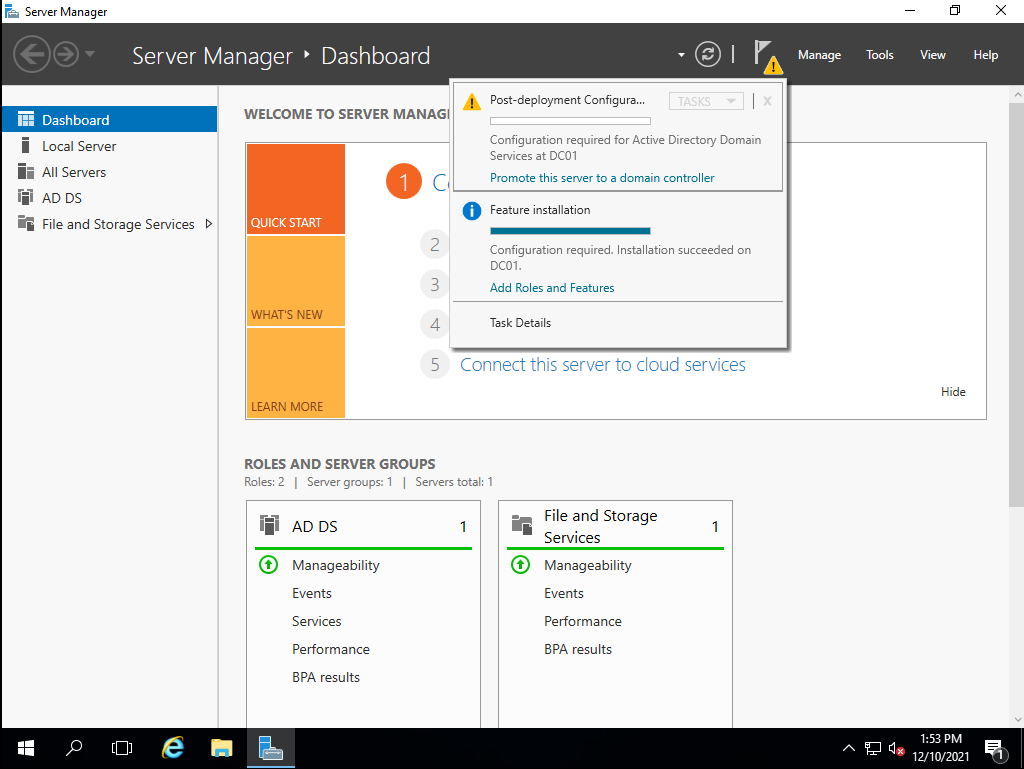
We click on “Promote this server to a domain controller” to confirm that this server will be a domain controller, where we’ll see a new window.
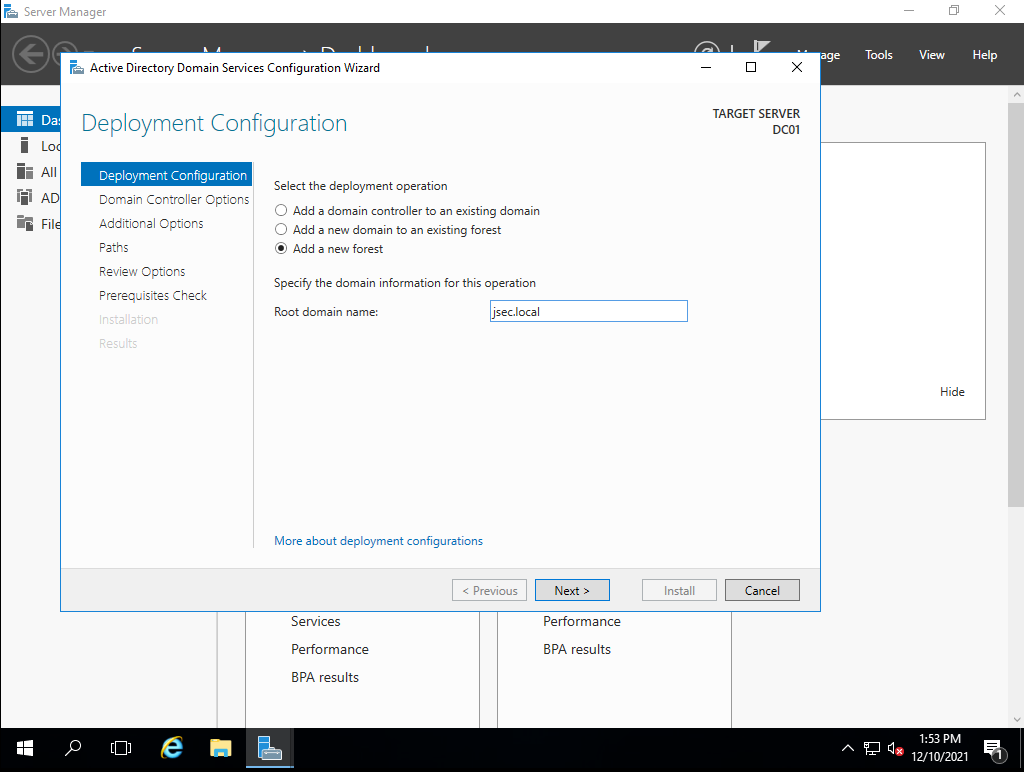
Here, we’ll decide if we’re going to add this DC into an existing domain, existing forest or create a new forest. Selecting the last option we’ll be able to define whichever name we want for our internal domain, in my case, “jsec.local”.
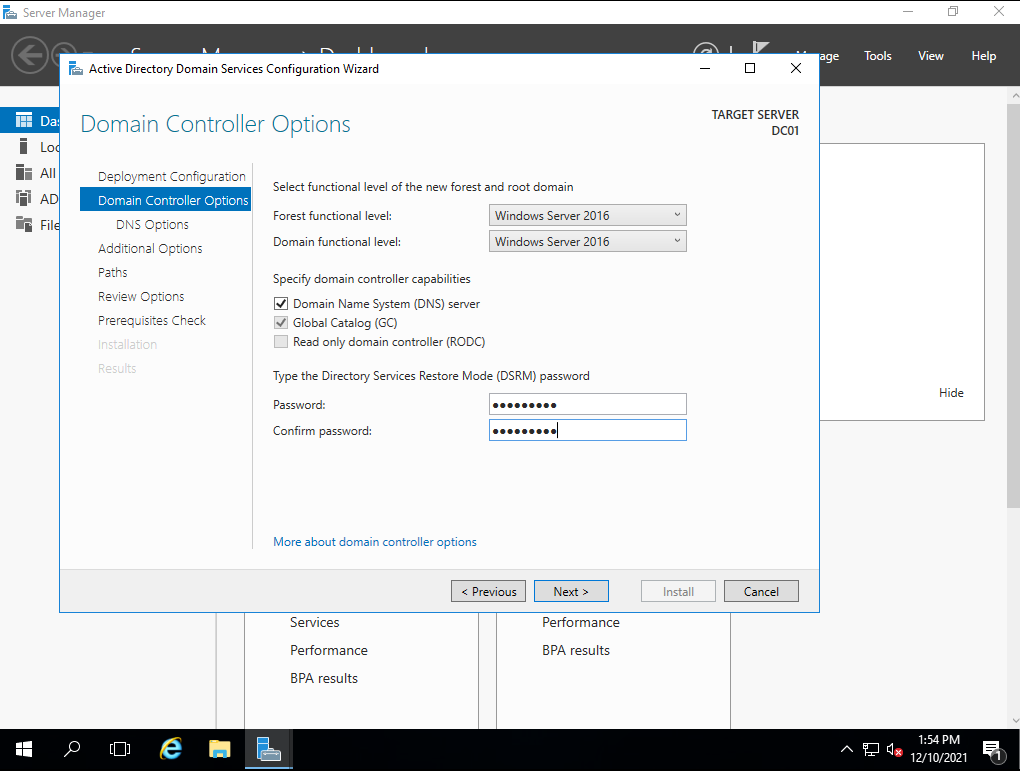
The next screen is important, the first couple of options can be left with the default values, but here we define our DSRM password, which can be used to access the domain controller locally in case we get locked out of our own device through domain accounts and such.
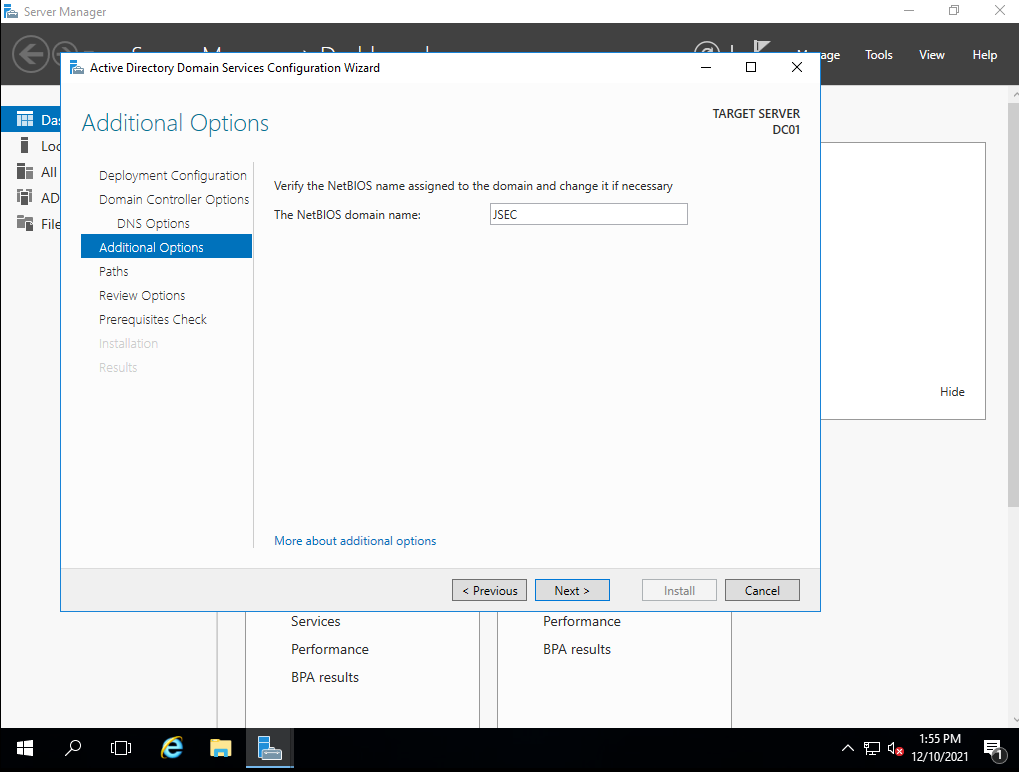
On this screen, we add a NETBIOS name to our domain, making sure we’re choosing a proper abbreviation. After this screen, it’s safe to leave the default options on the following screens until we reach one with a summary of our desired configuration..
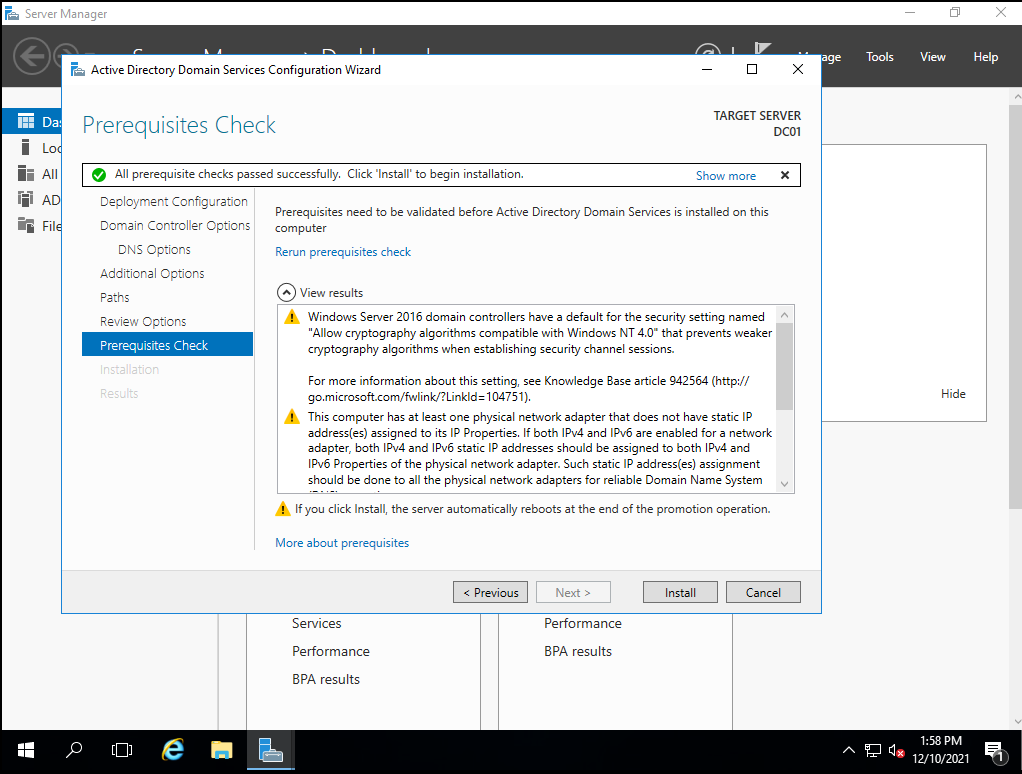
We click on “Install” to finish the domain controller configuration.
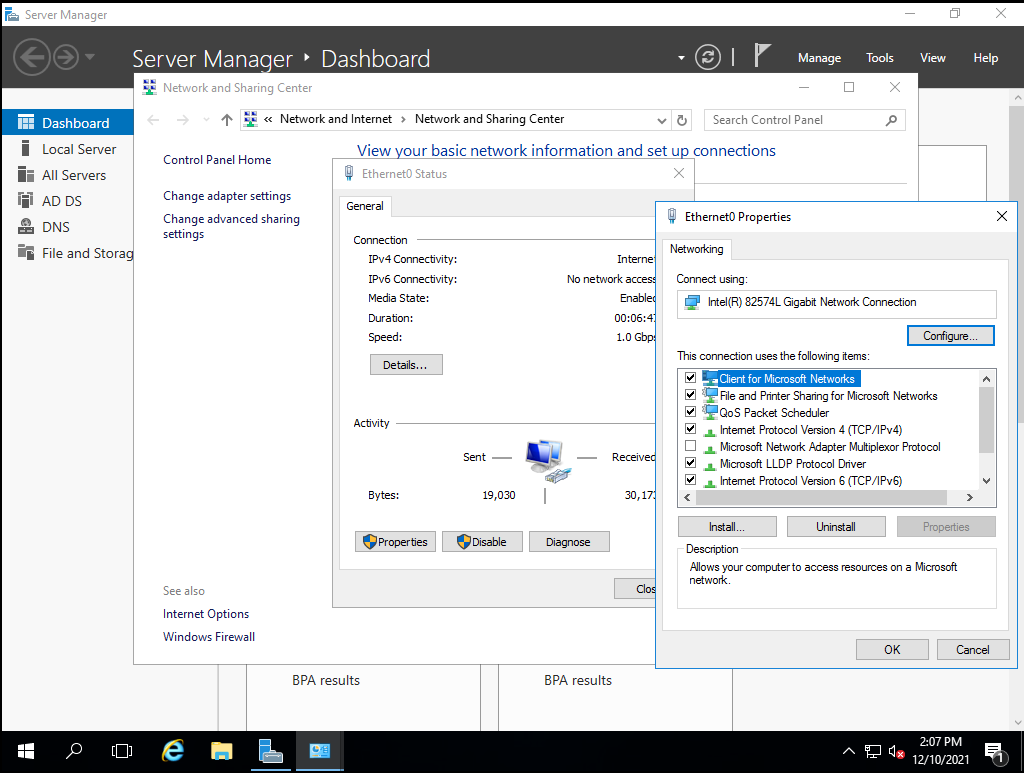
After this is done, we can configure our network interface, given that it’s required for domain controllers to have a static IP address.
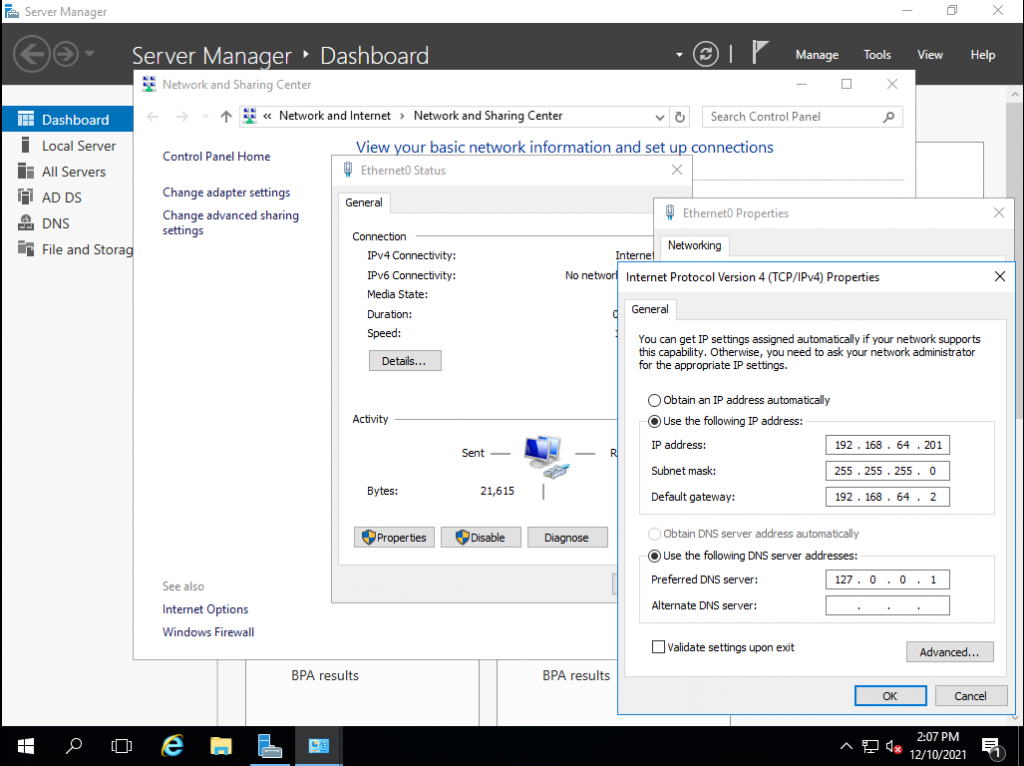
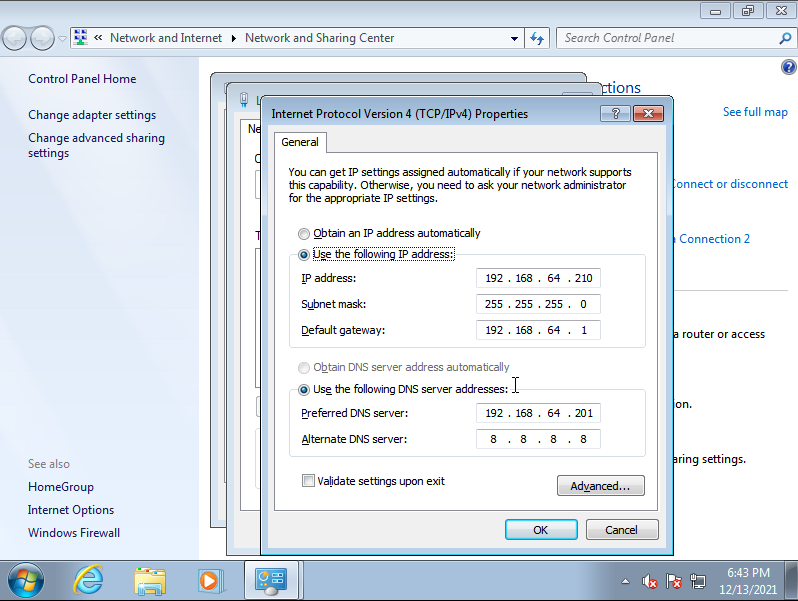
To accomplish this, we search for “Network and Sharing Center”, double click on our network adapter, click on “Properties” and double click on “Internet Protocol Version 4 (TCP/IPv4)”.
Here, we’ll assign a manual IP address, in my case, 192.168.64.201. It’s also recommended to define DNS servers, for our laboratory, setting up the localhost address should be OK.
Once we have the IP address configured, we’ll create our first domain user.
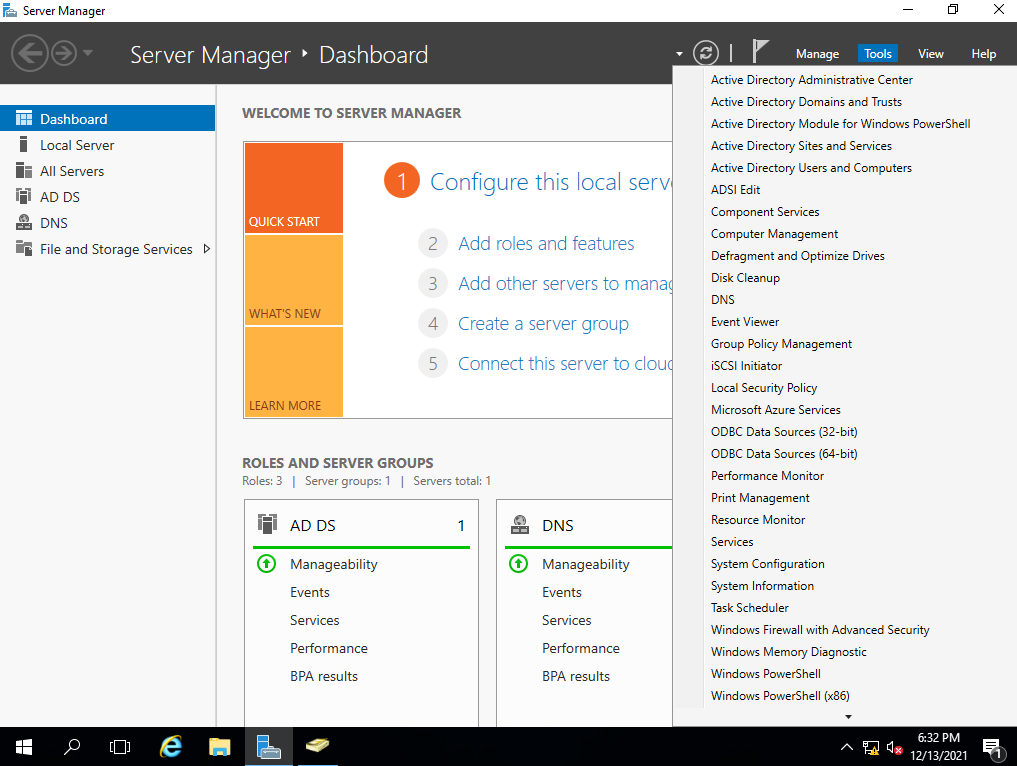
On the server dashboard, we click on “Tools” and then on “Active Directory Users and Computers”.
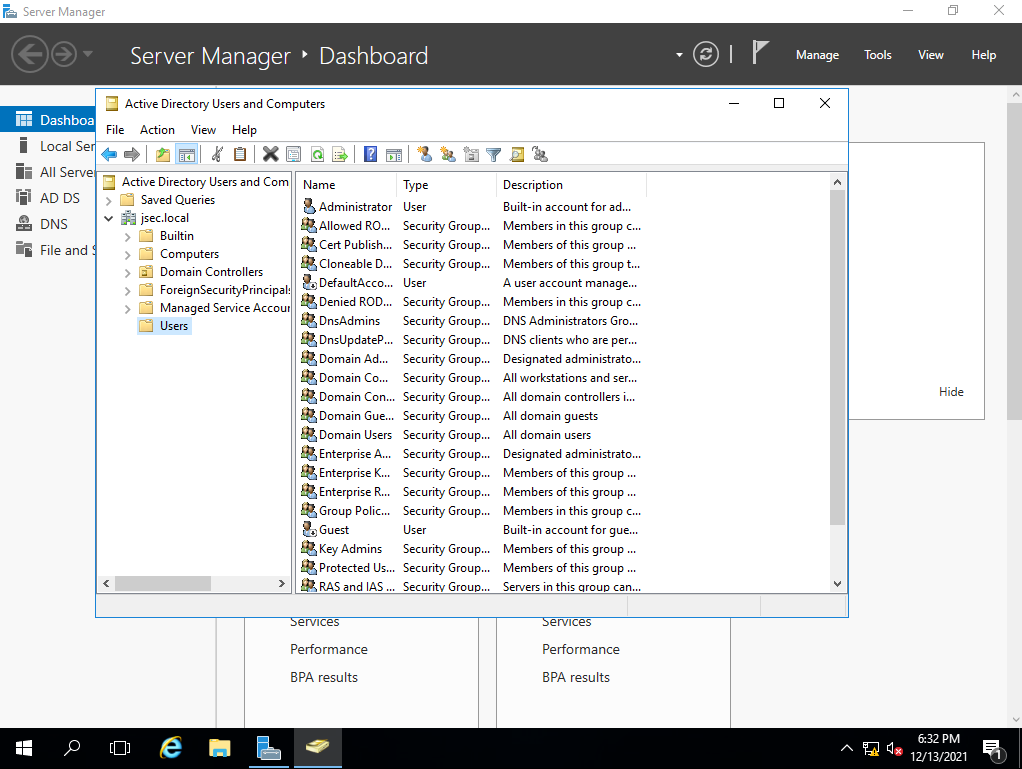
We expand our current domain tree and we select the “Users” folder.
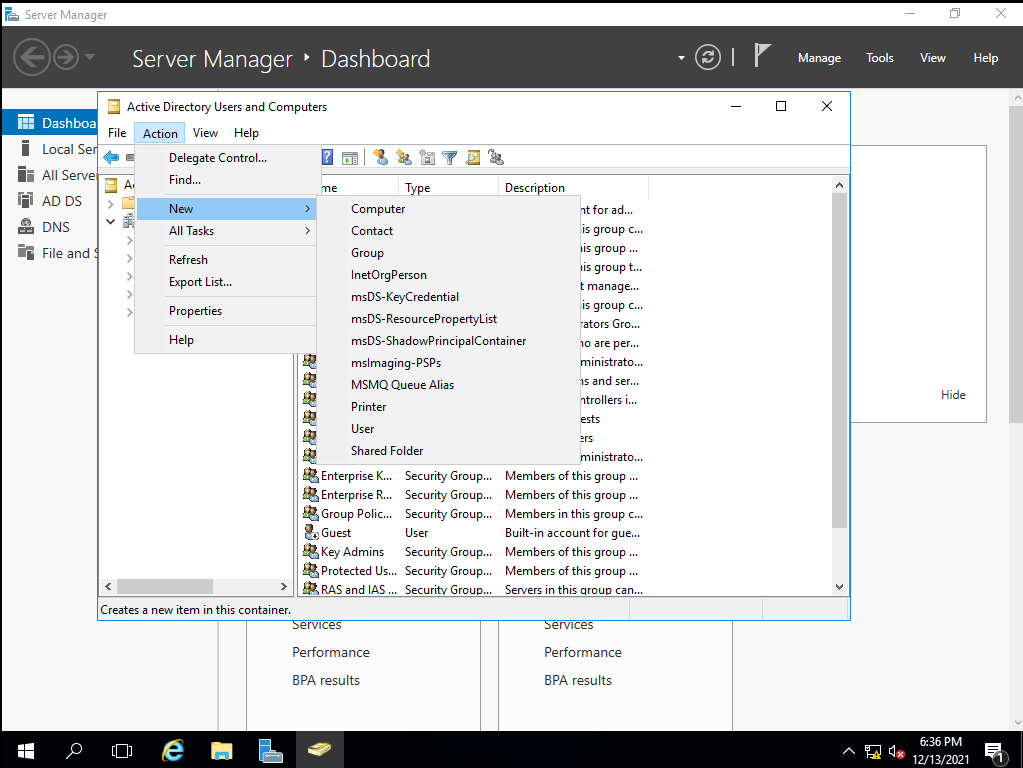
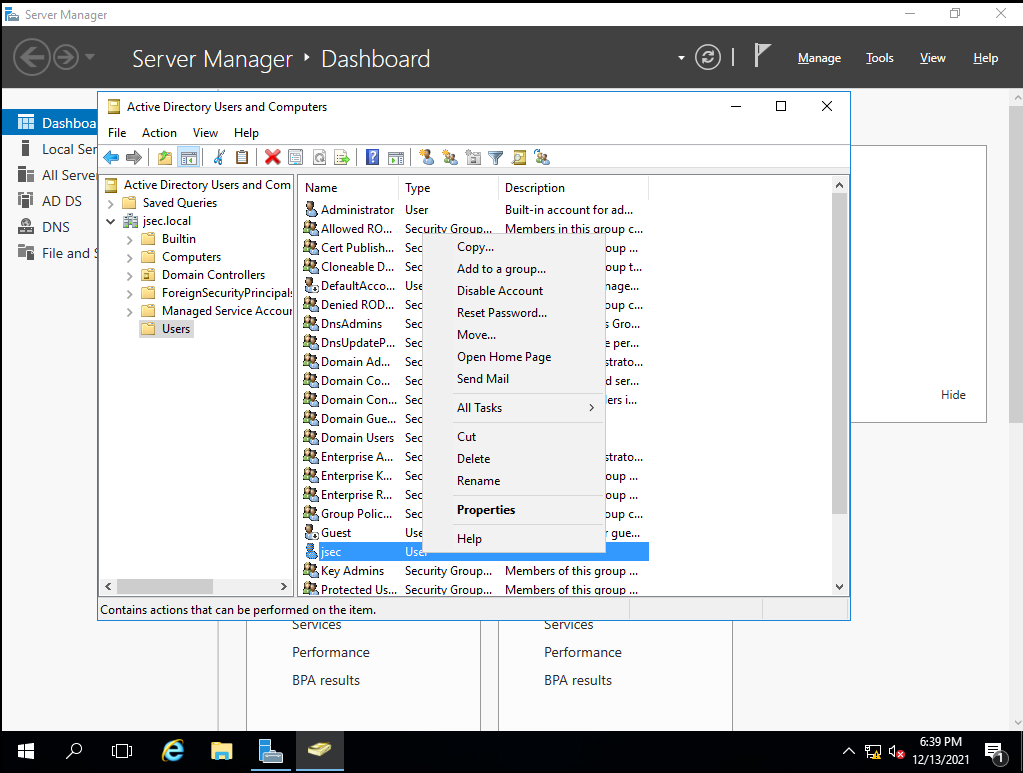
Then we can right click on the folder, hover over the “New” option and click on “User”.
We configure our first username and click “Next”.

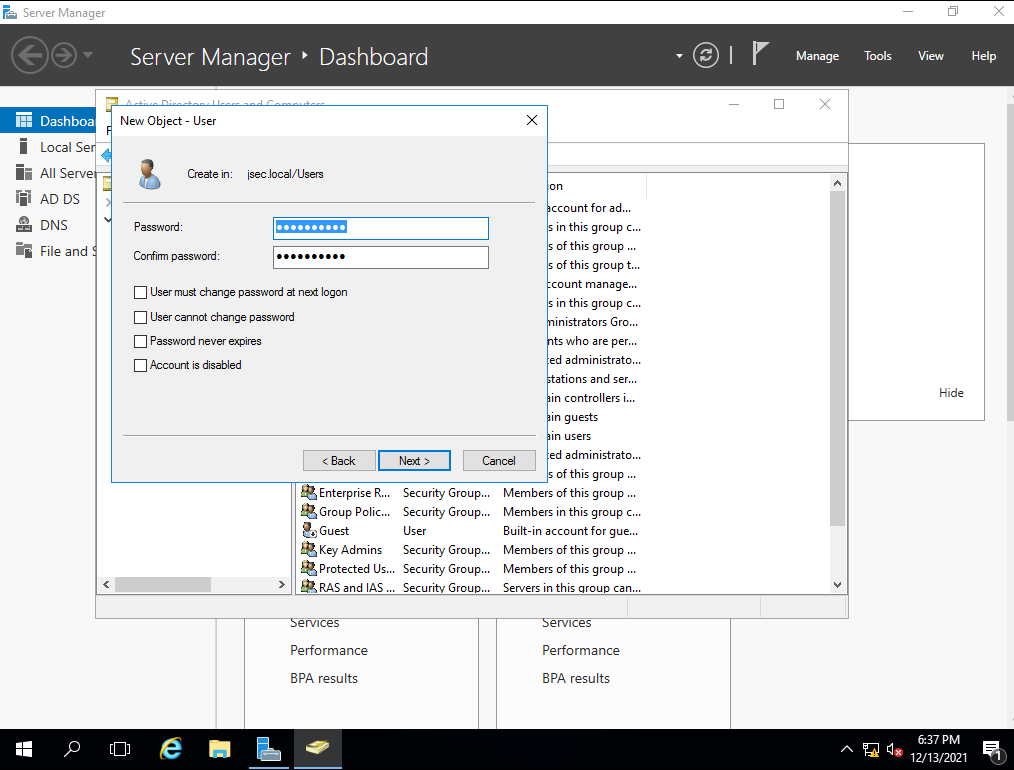
We define a specific password for our new user. We can also untick the “User must change password at next logon” checkbox, if we don’t want to force a password change the first time the user logs in. Once everything is ready, we click on “Next” and we’ll get confirmation that the new user was created successfully.
Now, we can add our new user to privileged groups, so we can use it for privileged tasks instead of the default “Administrator” account. (Usually not recommended in production environments, but it will be slightly more comfortable to work with on our lab, adding random users to privileged groups is considered an unsafe practice).
Right clicking on our new user, we access the “Add to a group” option.
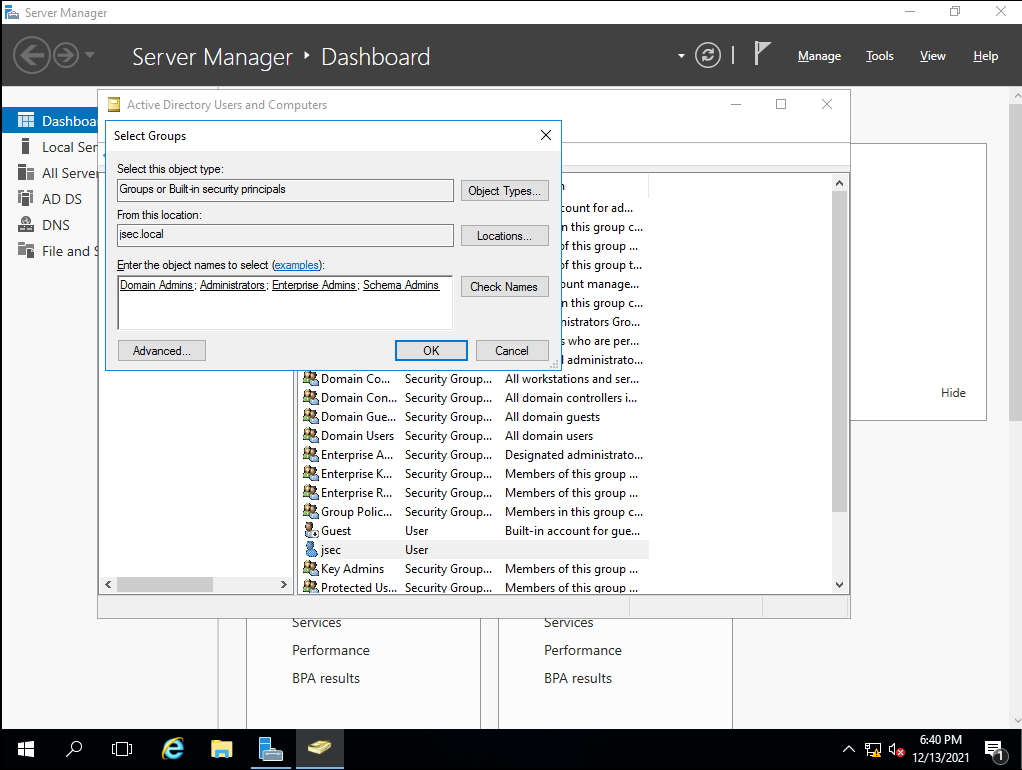
In the textbox, we can introduce terms such as “Administrator” or “Admins” to try to find the groups we want our user in. In this case, we added the user to the following groups:
- Domain Admins
- Administrator
- Enterprise Admins
- Schema Admins.
Being a member of these groups, our user will have the highest level of privileges on our domain and future child domains.
Our Domain controller is configured, so we can now proceed to create other users if we want to or add new hosts to our domain, which we’ll do in the next section.
Windows 7
We configure a static IP address for our host, making sure that it’s within the same network segment of our domain controller and the main DNS server is the domain controller IP address.
Then, we change the hostname, in this case, “ATENCION01”.
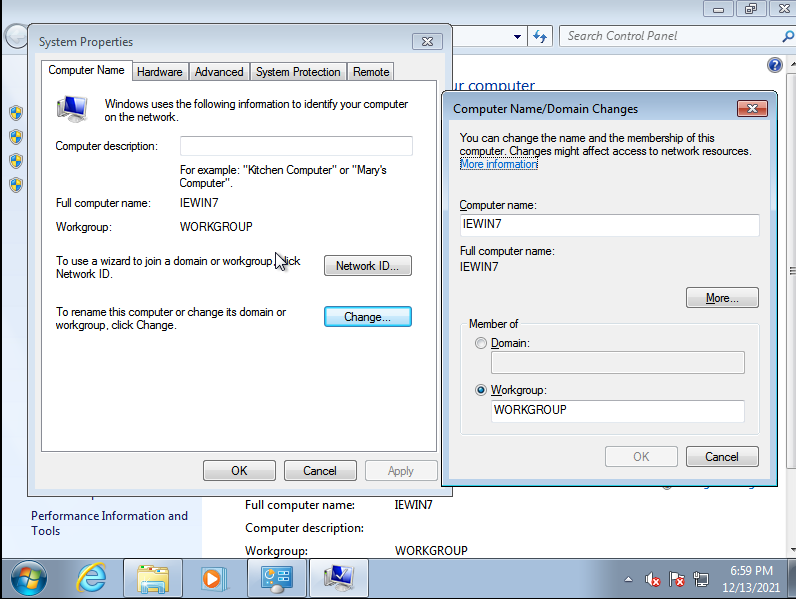
Before we complete the hostname change, we can add it to the existing domain by selecting the “Domain” bullet point, where we’ll write the FQDN of our newly setup Active Directory domain, in my case, “jsec.local”.
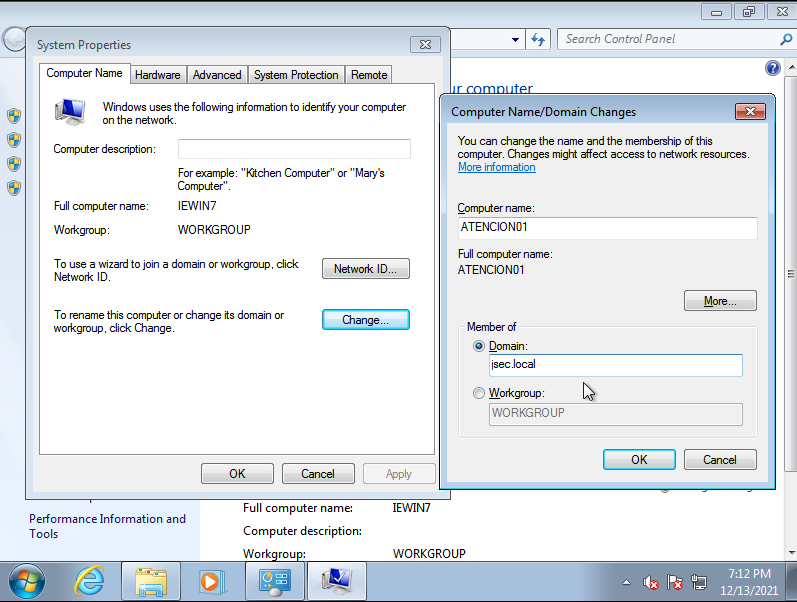
We click on “OK”, where we’ll get asked for valid domain credentials. (By default, any domain user, regardless of it’s privileges, can add up to 10 new hosts into the domain)
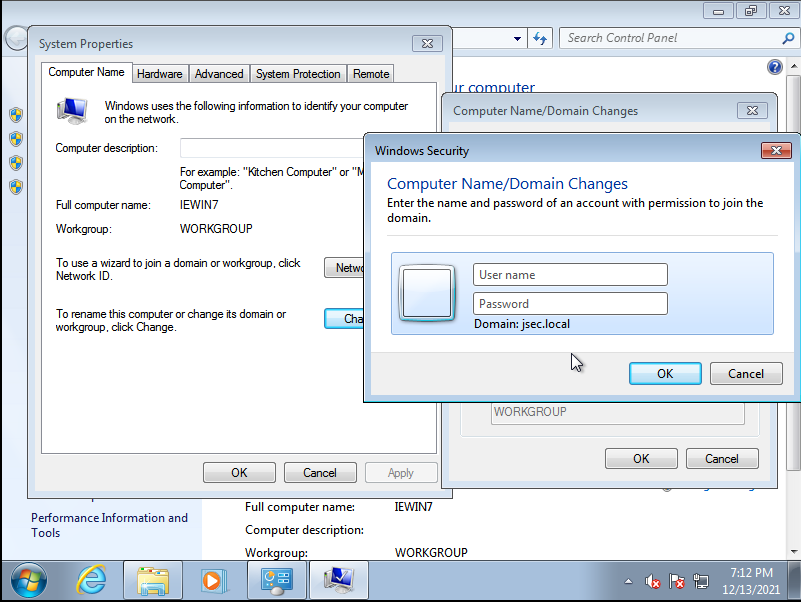
Using the credentials for the new user we just created, we get a message stating the host was successfully enrolled into the domain.
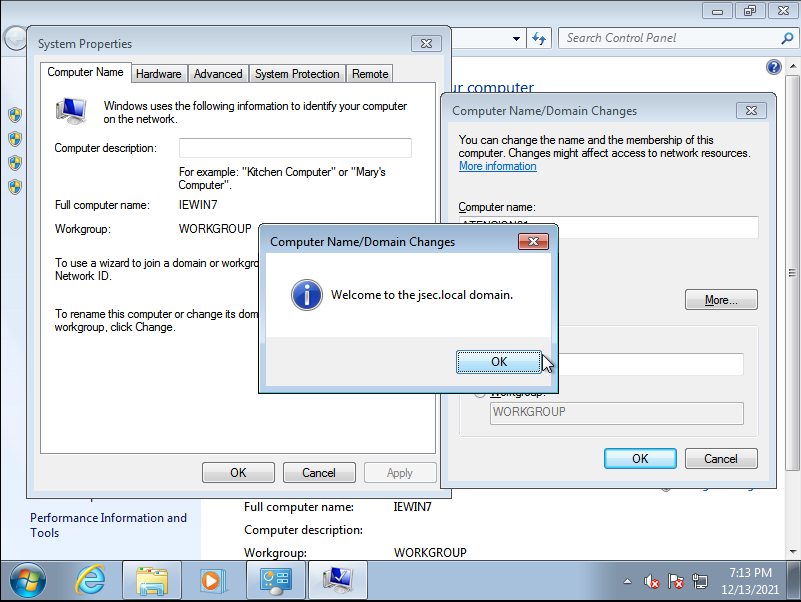
Once we restart the host, we can use our domain user credentials to access the operating system.
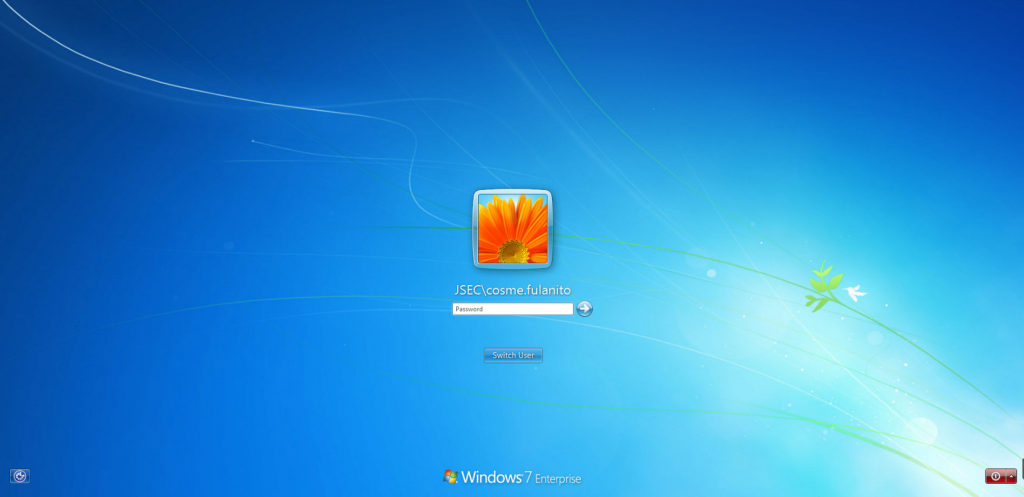
The same steps can be replicated for the other hosts
- Windows 10
- Windows Server 2016
With this guide, we have a fully functional domain with multiple hosts and users. Once we take snapshots of our fresh environment, we can begin configuring vulnerabilities and weaknesses for exploitation and practice, as we’ll see on different posts.